
How to get more from your personal branding images!
So, how can you get the most out of your personal branding images? That’s a great question and one which professional branding photographers are asked a lot.
Firstly, use them!
It might sound like a crazy simple suggestion; however, you’d be surprised at the number of business people who don’t actually get around to using their images. Don’t leave them on your computer hard drive or usb – get them out there in social media, on your website, anywhere and everywhere your ideal clients are hanging around.
Start simple and use your images for your social media profile photos and cover images. Add your logo and some text (like a quote, a tip, offer or an awesomely attractive tagline) and use them to support a post or as a stand-alone post.
Here’s some more ideas about where and how to use your branding portraits:
- Facebook – profile photo, cover image, as posts
- LinkedIn – profile photo, cover image, article cover image, within your article posts, signature footer at end of article (An article is LinkedIn’s word for blog)
- Instagram – profile photo, as posts
- Pinterest – profile photo, as posts
- Website – page mastheads, home page, about page, contact page, call to action
- Blog – blog masthead, within blog posts, signature footer
- Digital collateral – email footers (and headers), pdf worksheets, brochures & e-books
- Printed collateral – business cards, brochures, books (front cover, about author page & back page), banners, signage
- Sharing when key note speaker or guest podcaster, signature footer when guest blogging
Secondly, use images more than once!
To get even more value from your branding images use them over and over again. But let’s change it up a bit by cropping the photo and changing your size in the image as compared to the overall size of the image. For example, you could post a close-up head & shoulder image, head & torso, or full body. And, to add even more variety, change the position you are in relation to the image, by placing yourself on the left of the image, the center or to the right.
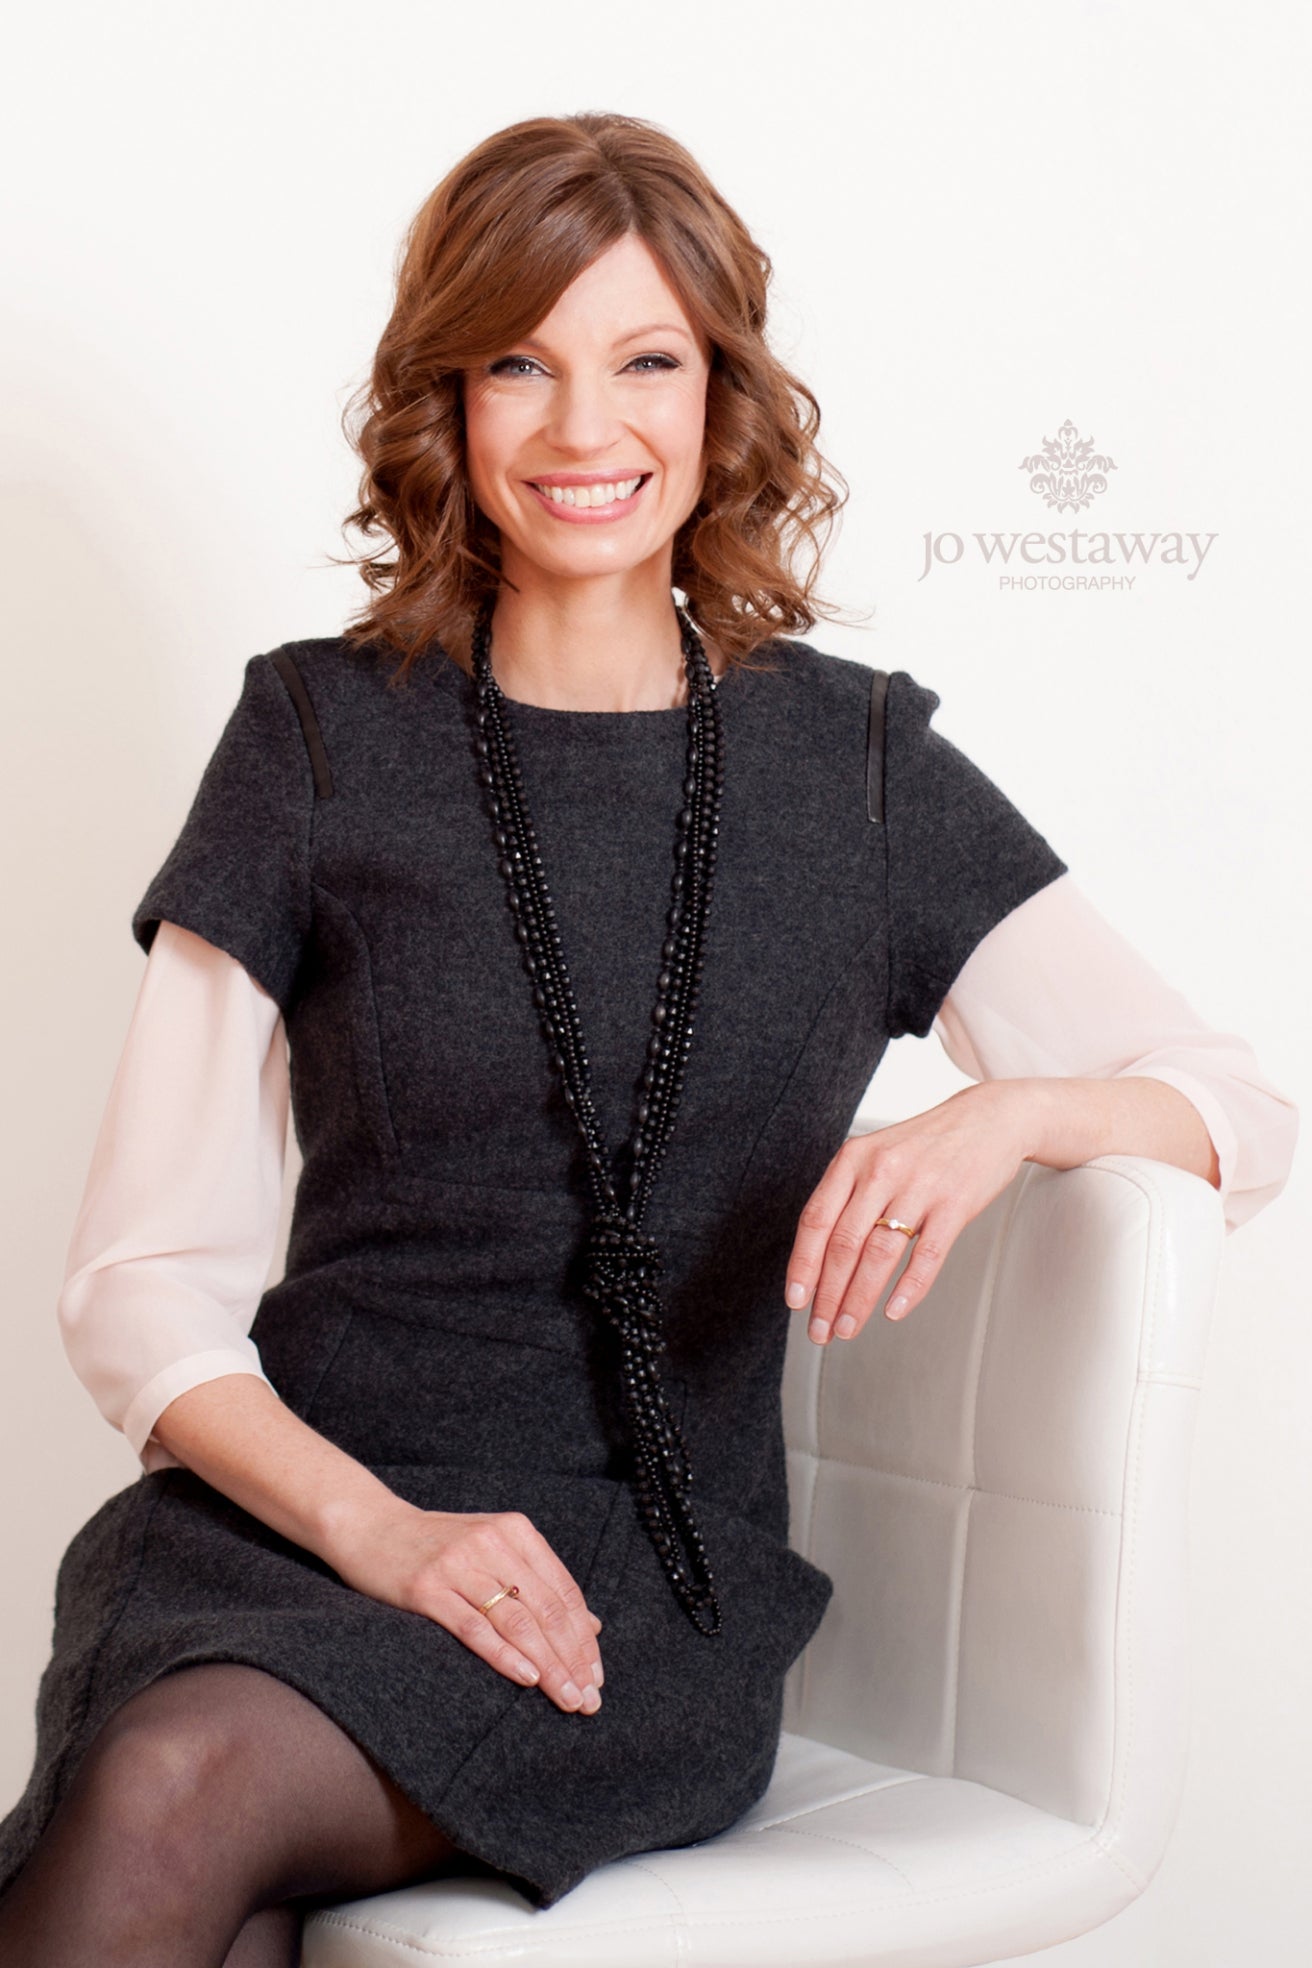
Meet Nadine, from McGrath Media in Brisbane. Let’s use one of her personal branding portraits to illustrate how an image can look different just by changing a few simple things. This is the original image below.
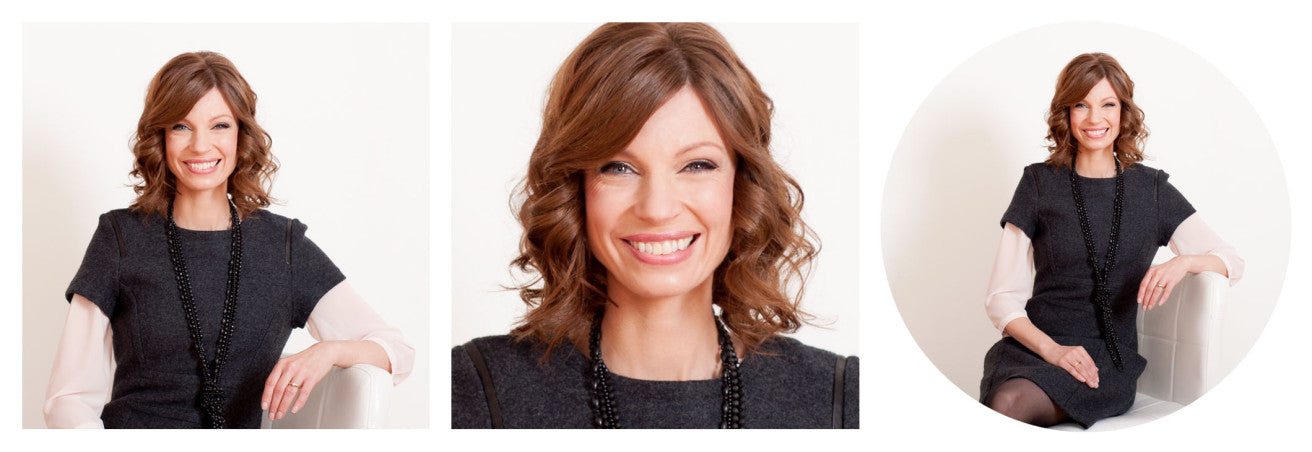
Now, using that same image, just by changing how big/small Nadine is in the image we’re able to create three very different looking social media profile images, perfect for Facebook, LinkedIn and Instagram.
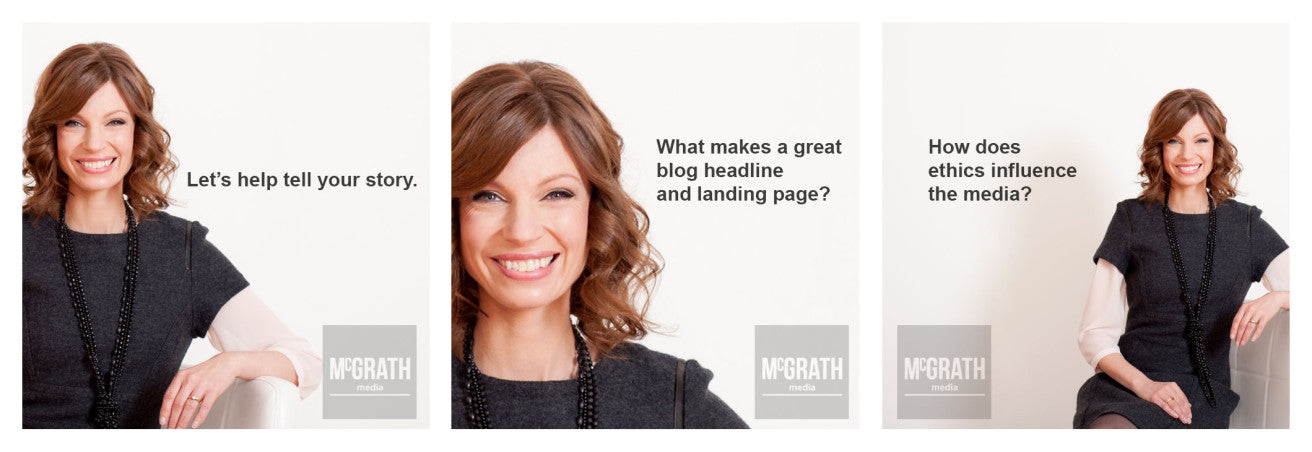
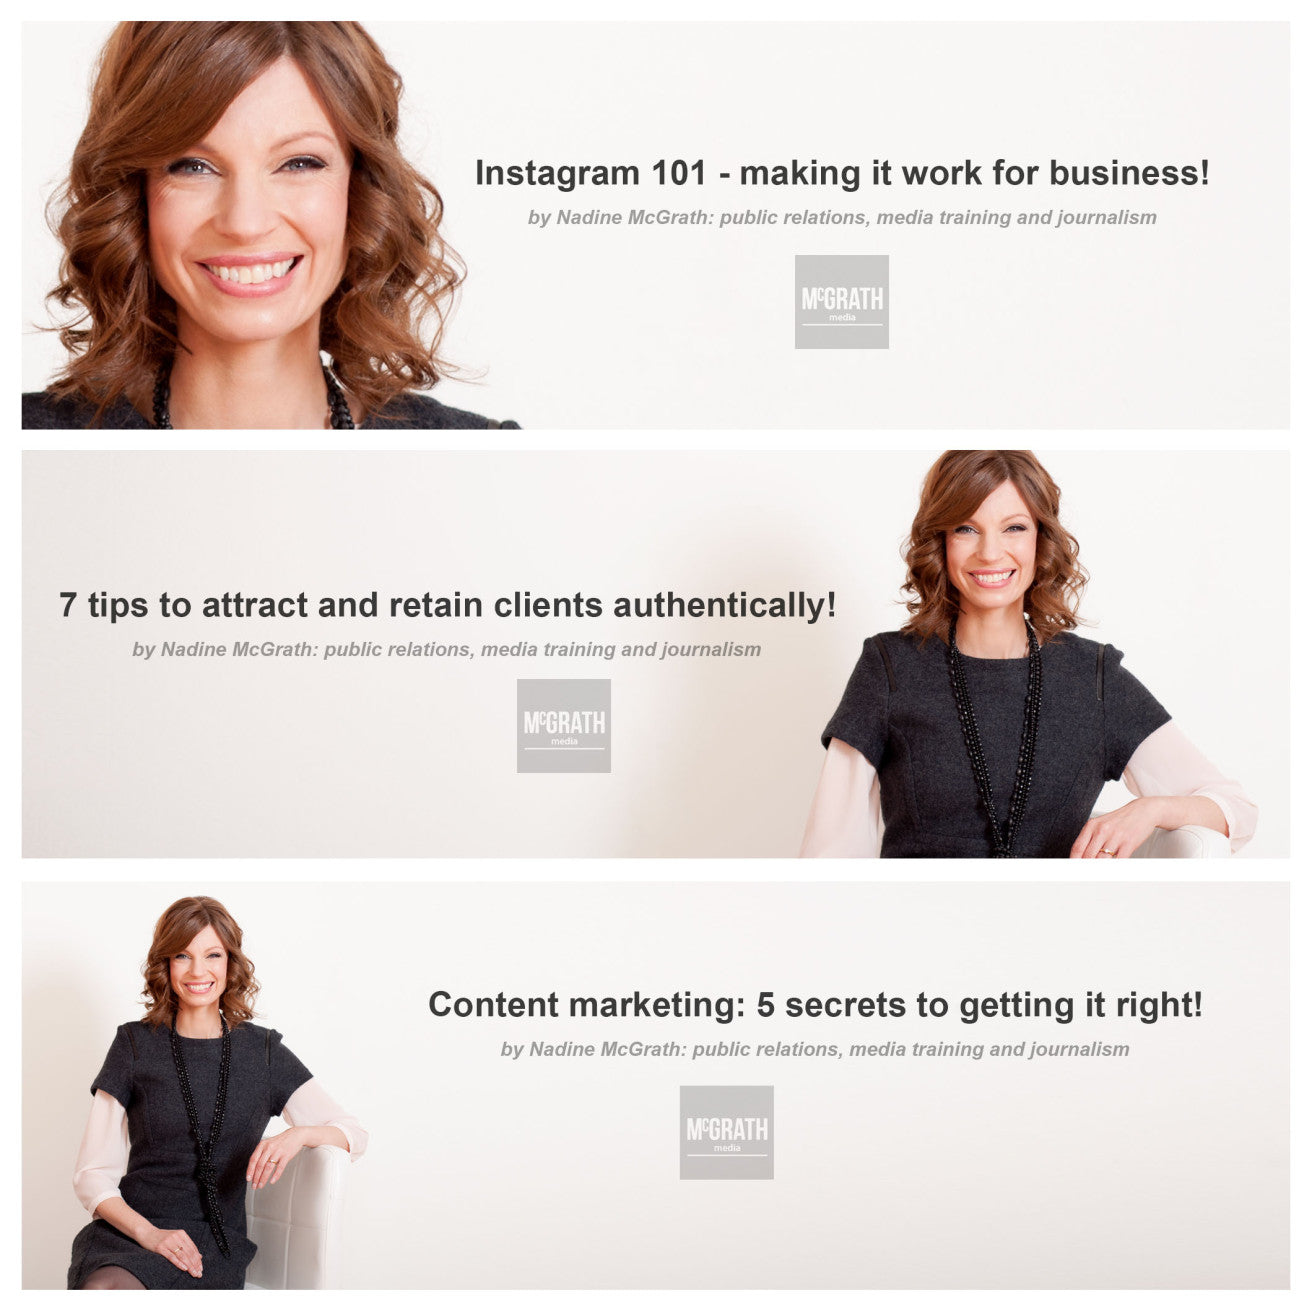
Another way to add variety is to include text, your business logo or branding graphics. Here are some examples of social media posts for Facebook or Instagram. Again, changing the size and placement of Nadine and by customising with text completely changes the look – who’d have thought that these variations originate from the same image!!!
The next three examples are of web or blog mastheads. They easily can be tweaked to be used as Facebook or LinkedIn cover images or an email footer as well.
All good knowing this, but how do you actually go about creating it?
For the DIY’er, Canva is a wonderful, free, drop and drag online design platform, with many various sized templates and loads of typefaces and fonts to choose from.
You may find you need to have the background of the original image extended. Alternatively, try adding a block of colour over where the image ends.
When adding your logo and branding graphics, they’re best saved as PNG files without a background. (When saved with a background, a white bounding box will appear around the logo/graphic, making your design look clumsy and unprofessional.)
When you’ve created your design/templates in Canva, you can easily change the size of the original portrait to create all the design layouts you’d like. Plus, you can swap out your image for a new one and hey presto, you’ve got yourself a new range of images to use!
Another option to achieve this is to use Photoshop. This program is ideal for extending the background of the original images. The downside though is it’s a complicated program to learn and is expensive to purchase. If you’re only needing to extend the background of your images, reach out to your designer or photographer and they should be able to help you out.
How are you using your images to maximise your return on investment?
If you’re serious about growing your business and wondering how professional photography and personal branding can help you get the results you deserve, drop me a line and let’s have a chat.
Cheers,
